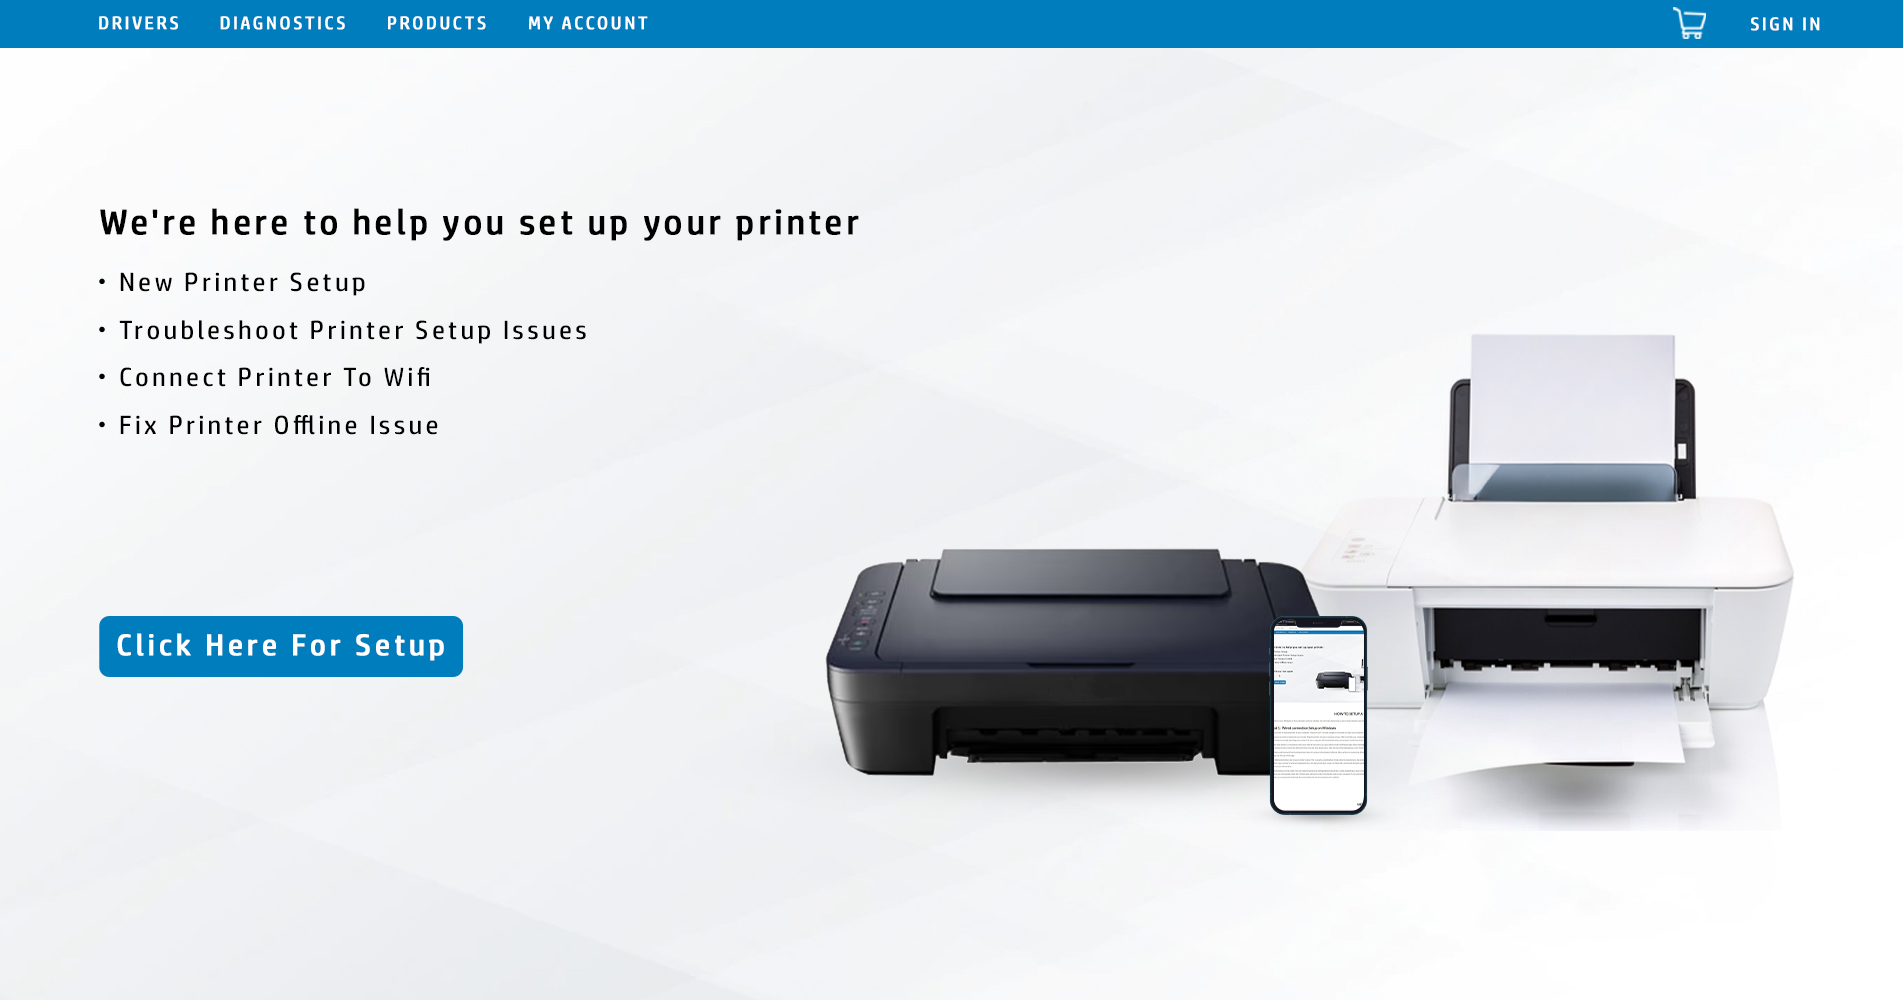
Your Complete Printer Setup Guide: Photosmart, Officejet, Envy, and LaserJet
Setting up your new printer doesn’t have to be complicated. Whether you’re trying to install, add, or connect a Photosmart, Officejet, Envy, or LaserJet printer, this step-by-step guide will help you get started quickly and easily. Here’s everything you need to do to set up your printer for seamless printing.
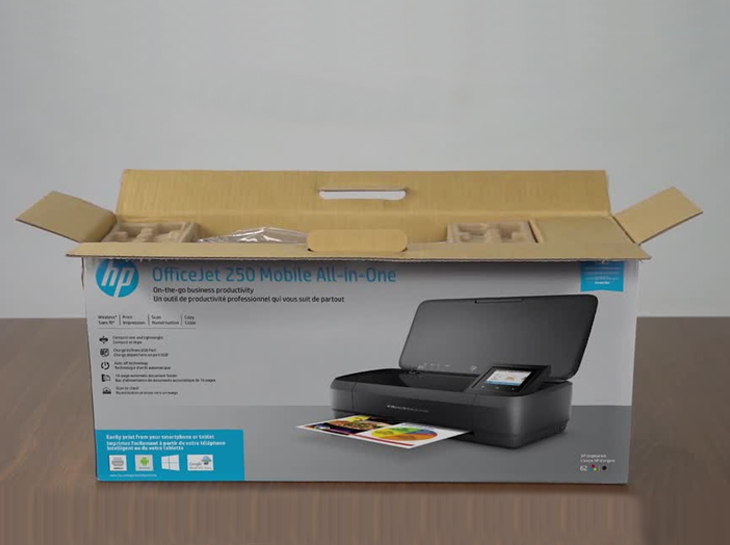
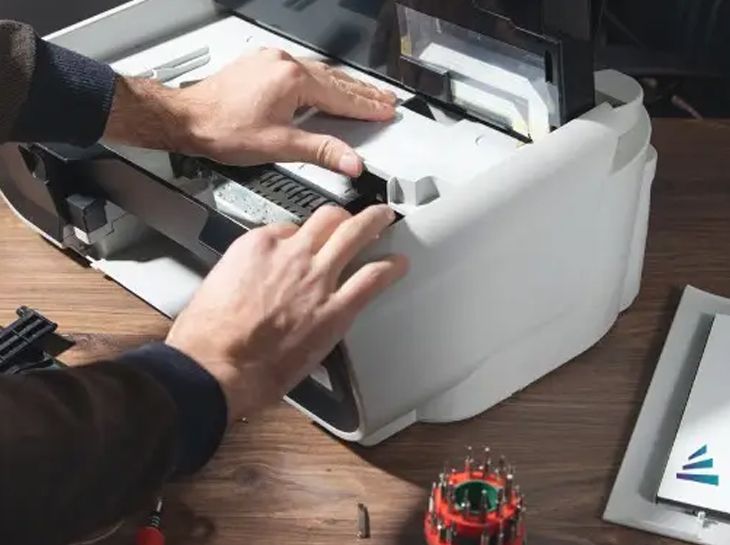
Step 1: Unbox and Prepare Your Printer
Unbox the Printer: Carefully remove the printer from the box, and remove all protective materials such as foam and tapes.
Place the Printer: Set up your printer on a stable, flat surface, ensuring it’s in an accessible area.
Power Up: Plug the printer into a power source, then press the Power button to turn it on.
Step 2: Install the Printer Software
For Photosmart Printers:
Download the Software: Visit the official HP support website and search for the Photosmart printer model.
Run the Installer: Download and open the installation file, then follow the on-screen instructions to install the necessary software and drivers.
Complete Installation: Follow the prompts to complete the installation process.
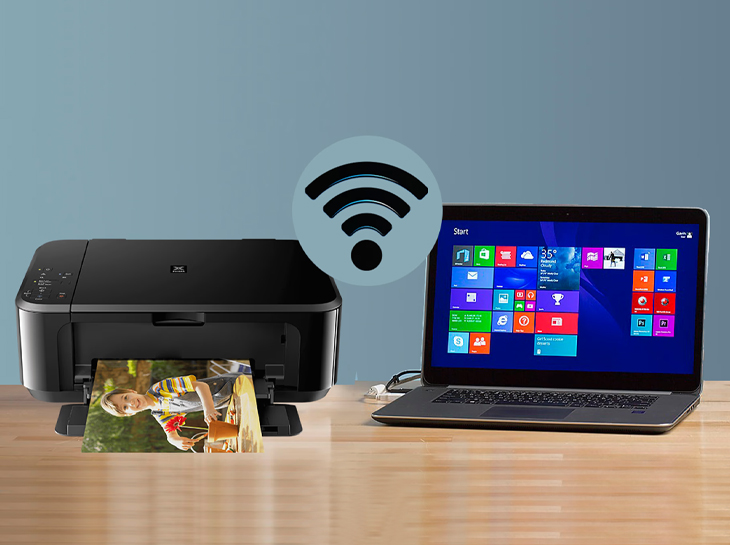
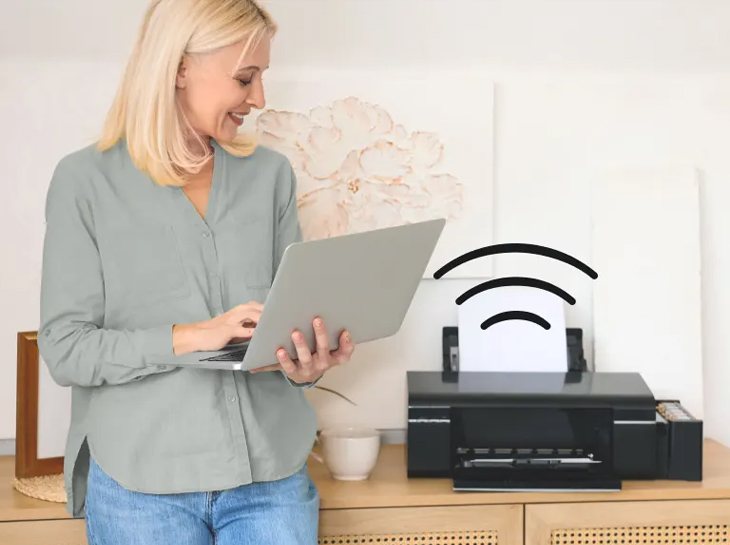
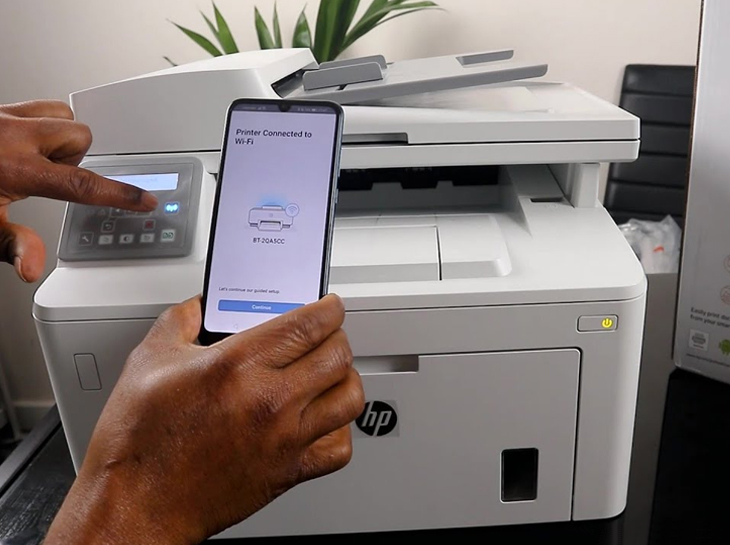
Step 3: Connect the Printer to Wi-Fi (For Wireless Models)
For Photosmart Printers:
Access Wireless Settings: On the printer’s control panel, select the Wireless icon or navigate to the Wireless Setup Wizard.
Choose Wi-Fi Network: Select your Wi-Fi network from the list of available options.
Enter Password: Type in your Wi-Fi password and confirm the connection.
For Officejet Printers:
Go to Wireless Setup: On the printer’s screen, navigate to Wireless Setup Wizard.
Select Wi-Fi Network: Choose your Wi-Fi network from the available list.
Enter Password: Input the Wi-Fi password and press OK to connect.
For Envy Printers:
Open Wireless Settings: Navigate to the Wireless Setup Wizard on the printer’s control panel.
Select Network: Choose your Wi-Fi network.
Enter Wi-Fi Password: Type in the password and press OK to complete the setup.
For LaserJet Printers:
Go to Wireless Setup: On the printer’s control panel, find Wireless Setup Wizard.
Choose Network: Select your Wi-Fi network from the list.
Enter Password: Type the Wi-Fi password, then confirm the connection by pressing OK.
Step 4: Add the Printer to Your Computer or Device
For Windows Users:
Open Settings: Click on the Start menu and open Settings.
Go to Devices: In the Settings window, click on Devices, then select Printers & Scanners.
Add Printer: Click on Add a printer or scanner and wait for the printer to appear.
Select Printer: Choose the printer from the list and click Add device.
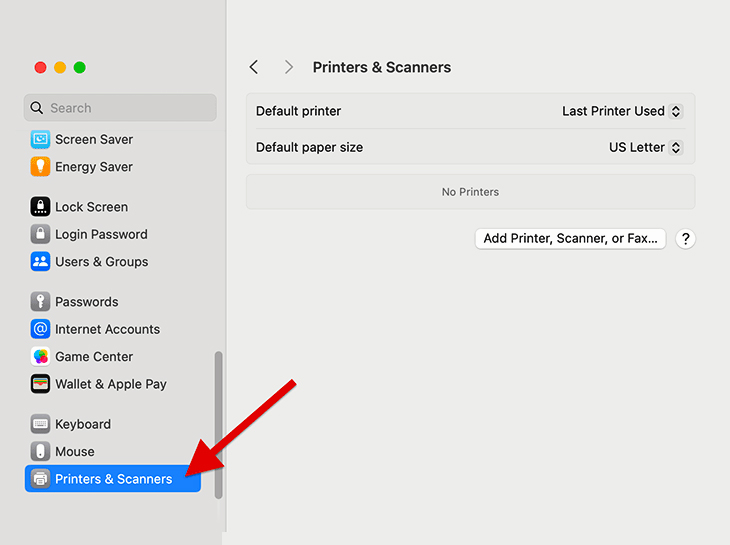
For Mac Users:
Go to System Preferences: Click on the Apple Menu and select System Preferences.
Click on Printers & Scanners: In the System Preferences window, click on Printers & Scanners.
Add Printer: Click the + button at the bottom-left corner to add your printer.
Select Your Printer: Choose the printer from the list of available devices and click Add.
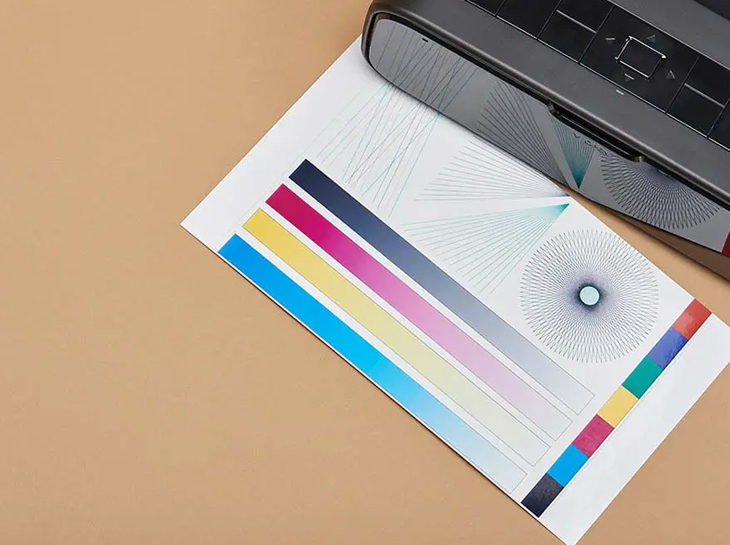
Step 5: Print a Test Page
To ensure everything is working correctly, it’s a good idea to print a test page.
For Windows:
Open Control Panel: Go to Control Panel > Devices and Printers.
Right-Click Printer: Right-click on your printer and select Printer Properties.
Print Test Page: Click on Print Test Page to check the setup.
For Mac:
Open Printers & Scanners: Go to System Preferences > Printers & Scanners.
Select Printer: Choose your printer from the list.
Open Print Queue: Click Open Print Queue, then choose Printer from the menu.
Print Test Page: Select Print Test Page to ensure the printer is working.
Step 6: Troubleshoot (If Needed)
If your printer isn’t working correctly, try these common troubleshooting steps:
Restart the Printer: Turn off the printer, wait a few seconds, and turn it back on.
Check Wi-Fi Connection: Ensure the printer is connected to the correct Wi-Fi network.
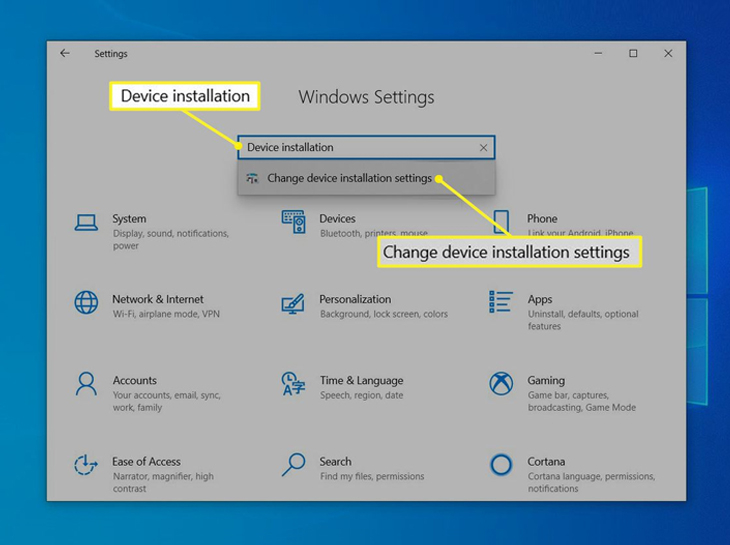
Update Printer Drivers: Visit the HP support website, download the latest drivers, and update your installation.
Firewall or Antivirus Issues: Disable firewall or antivirus software temporarily to check if it’s blocking the connection.
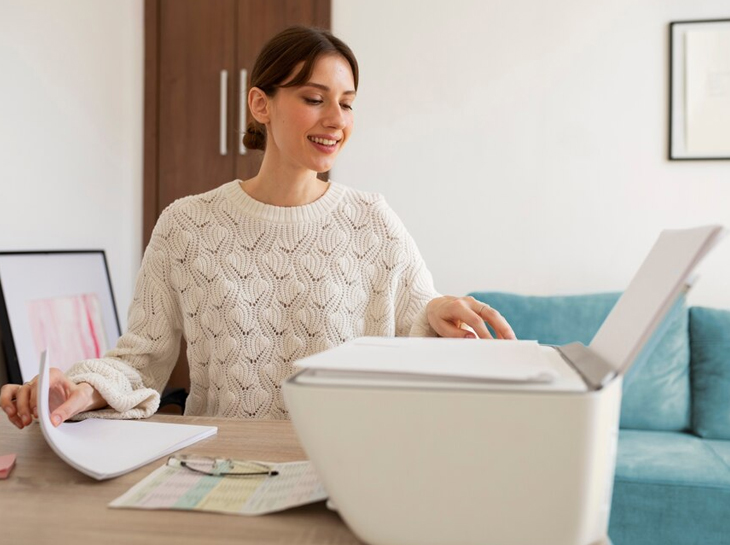
Step 7: Enjoy Your Printer
Once the printer is successfully set up and connected, you’re ready to start printing! Whether it’s for work, school, or personal use, your new printer is now ready to deliver high-quality prints.